Magento debugging typically involves a combination of writing output to log files, dump & die statements, and Xdebug. Each of these has disadvantages, though.
Disadvantages of typical debugging tools
For one, if the class you are debugging doesn't have a constructor, needing to create one just to be able to write to a log file is quite a verbose task. You'll also need to search the filesystem for the specific log files you wrote data to, and may not be able to find it. If you do find the data, it could be mixed in and confused with other debugging output.
<?php
declare(strict_types=1);
class MyClass
{
private $logger;
public function __construct(\Psr\Log\LoggerInterface $logger)
{
$this->logger = $logger;
}
public function execute()
{
try {
// Code goes here
} catch (\Exception $e) {
$this->logger->critical('Error message', ['exception' => $e]);
}
}
}It's also very possible, and likely, that you will eventually wind up accidentally committing files to production that contain these debug statements. This has the undesired effect of having information outputted to the user, possibly exposing security vulnerabilities. Lots of writes to the log files can also consume increasing amounts of disk space, and over time can even negatively affect performance.
Using var_dump along with die is actually quite efficient, but again, you risk committing the updated files with
these calls to production. It's also hard to get the desired info out of var_dump when you are knee-deep debugging a
complex task.
echo '<pre>';
var_dump($exception);
die();Xdebug works great, but can be a hassle to set up. The debugger also sometimes slows down your workflow, notching away at your productivity. It also requires specific knowledge of the Xdebug debugging tools.
Say hello to Ray
This scenario is all too common, not only in Magento, but in other frameworks as well. Spatie, a firm specializing in Laravel development, noticed this and created an app to attempt to solve this problem. Ray is a software app you can run within your local development environment, and resolves all the previously mentioned issues.
To use Ray, you'd just call the ray() function directly from your code, like so:
<?php
declare(strict_types=1);
class MyClass
{
public function execute()
{
try {
// Code goes here
} catch (\Exception $e) {
ray($e)->red();
}
}
}If you do manage to commit code to production that contains ray() statements, nothing bad will happen. As a matter of
fact, you can actually access those ray() debugging statements remotely via SSH.
Ray works not only on Laravel, but can be used within other PHP frameworks as well, including Magento.
Install the Ray package
The first step of using Ray is to install it with Composer.
composer require spatie/rayThis installs the Ray code within your development environment, which essentially acts as the "server".
Configure Ray
Before using Ray, you may need to configure it if you are using a development environment such as Docker. If you have a locally-installed version of Magento, you can skip this step.
Since I maintain docker-magento, I will cover the configuration of Ray within it. Your setup may vary, however it may follow a similar configuration, so the next steps could be useful to you.
You can specify a ray.php file which
contains configuration for Ray. With docker-magento, I would
create a file on the host at src/ray.php with the contents:
<?php
declare(strict_types=1);
return [
/*
* The host used to communicate with the Ray app.
*/
'host' => 'host.docker.internal',
/*
* The port number used to communicate with the Ray app.
*/
'remote_path' => '/var/www/html',
/*
* Absolute base path for your sites or projects on your local computer where your IDE or code editor is running on.
*/
'local_path' => '/Users/markshust/Sites/magento/src',
];Note that only configurations that differ from default values need to be included in this file. This avoids redundant data, and makes this file easier to process and maintain.
Be sure to replace local_path with your local project path, as surely your username is not markshust 😛.
Copy configuration to Docker
Since files within my src directory are not bind-mounted into Docker for performance reasons, I still need to make
this file available to Ray, so it is aware of it. I'll do this by adding a value to the volumes directive in my
docker-compose.dev.yml file, which is used when my Docker containers start up. If you need to run commands in your Docker setup, learning how to execute commands in containers in Docker will be helpful:
version: '3'
services:
app:
volumes: &appvolumes ...
- ./src/ray.php:/var/www/html/ray.php:cachedExposing this file to /var/www/html/ray.php makes Ray aware of this configuration. You'll also need to restart your
Docker containers for the changes to take effect. This can be done within docker-magento by running bin/restart.
Install the Ray app
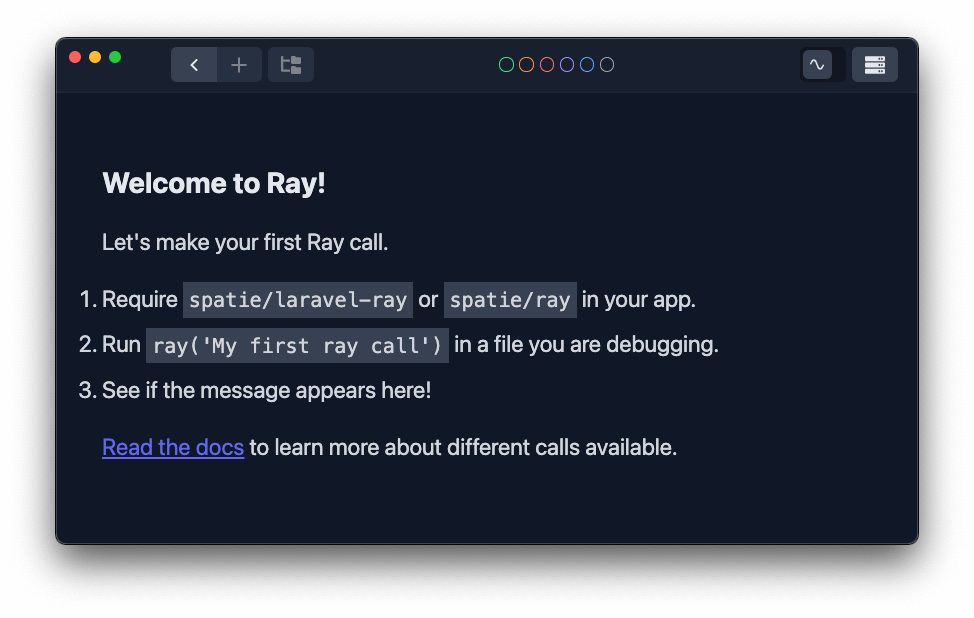
In order to catch requests sent with Ray, you will need to install the client software. This involves downloading the Ray app for your specific operating system. After installing the client, you can open up the app.

Call ray() within your code
To see ray() calls in the Ray GUI, you'll need to add some!
Within Magento, we can open up pub/index.php, which is the initial bootstrap file which kicks off the application
process. Anywhere after the call to boostrap.php, which loads the initial Composer dependencies (including Ray), we
can add a call to ray(), like so:
<?php
...
try {
require __DIR__ . '/../app/bootstrap.php';
...
}
// Here is our call to ray()!
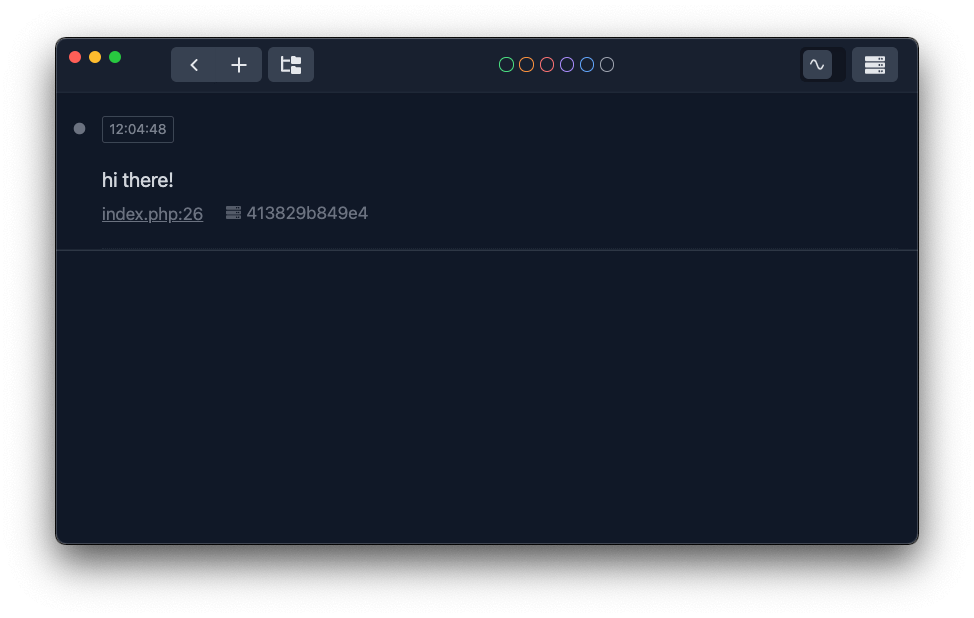
ray('hi there!');
$bootstrap = Bootstrap::create(BP, $_SERVER);
...If you then execute any request in Magento, you will see the result:

It's important to note that if you are using docker-magento, you cannot make this file change on your host machine and expect to see the changes, as the
pub/index.phpfile is not bi-directionally synced from the host to the container. So to test this, you can runbin/bash, and then modify the file within the container.
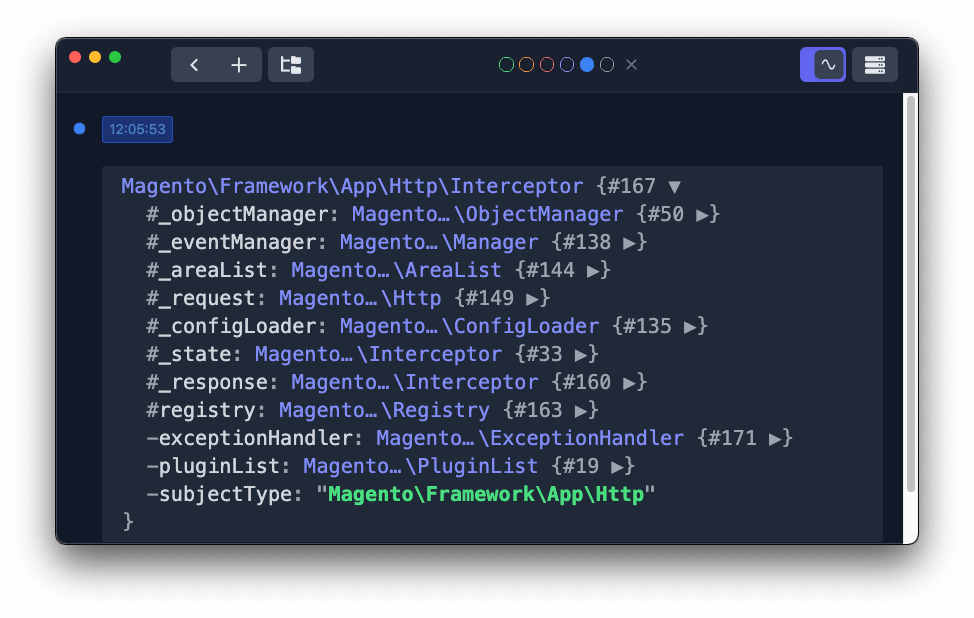
Ray can now act similarly to Xdebug, outputting full debugging data for objects. For example, calling:
ray($app)->blue();...within the pub/index.php file, which outputs the entire $app variable. The call to the ->blue() function adds
some categorization to the debug call, so you can filter results to only show logs matching that criteria:

Toggling that little icon in the top right of the window can also ensure this window persistently floats above all other windows on your desktop.
What can you do with Ray?
This is just the tip of the iceberg of what you can do with Ray. Experiment and find more interesting things you can do by reading the Ray documentation.
I'm very excited to see what you can come up with!
Eager to dive deeper into Magento? I can assist you in these 3 ways:
- Explore Magento 2 fundamentals & best practices course (1,000+ students)
- Grow your Magento expertise with all courses & lessons (500+ students)
- Browse the courses and level up your Magento skills


